
How to configure a supermarket price checker: main aisle, shelf and service desk
The difference in a supermarket price checker is not the hardware but the mounting position: a large screen at eye height on the main aisle, 5–8-inch screens on shelf endcaps, and a 32-inch unit with a printer at the service desk. Mixing three positions in one store costs less than standardizing on a single model.
Where these stores usually get stuck
Label changes cannot keep up with promotions
In stores where electronic shelf labels do not cover every item, promotional prices and shelf labels often disagree, and customers only find out at the checkout.
Customers cannot find anyone to ask about a price
The fresh and bulk weighing area is short-staffed, so customers who want to confirm a unit price have to queue at the scale.
Queues at the service desk for the same question
The service desk is tied up with questions about price and larger pack sizes, while customers who actually need a return wait longer.
Match models to positions
Each row maps to a real mounting position, not a blanket claim that all 9 models work anywhere.
| Mounting position | Recommended model | Why |
|---|---|---|
| Main aisle and category entrances | XT802E (10.1-inch) | Customers see the promotion before they arrive, then stop and scan for unit price and pack size. The 242×173×35mm housing mounts on a column without narrowing the aisle. |
| Shelf endcaps and cooler sides | XT802C (5-inch) or XT802D (8-inch) | Use the 5-inch unit in narrow spots and the 8-inch on endcaps. PoE power runs over one network cable, so shelf changes need no new mains wiring. |
| Service desk and entrance | XTCM320 (32-inch, with printer) | The large screen carries promotional posters and store navigation, and the built-in 80mm printer issues price labels, coupons or queue numbers on the spot. |
Five steps from site visit to go-live
- Walk the store first and mark the spots where customers stop to look for a price: endcaps, the weighing area, cooler sides and the service desk.
- Measure three things at each position: wall width, height above the floor, and whether an Ethernet port and outlet are there. Positions narrower than 30cm take the 5-inch unit.
- Settle the software: the default page is enough for price lookup; to connect the store POS item database, give IT the interface documentation or a database view.
- Keep the screen center at 1.35–1.45m above the floor, with the scan window below the screen so customers reach it naturally.
- After go-live, review the query log once a week and move long-idle positions onto the traffic path instead of leaving units in dead corners.
Supermarket and hypermarket FAQ
Android or Windows in a supermarket?
For price lookup and item search only, use the Android version: it boots quickly, customers cannot install software on it, and remote maintenance is simple. If you need to connect the store's existing Windows item management system, or there are serial weighing devices on site, use the X86 version.
Can one unit show a promotion and a price at the same time?
Yes. From 10.1-inch up, the upper half can carry a promotional image and the lower half the scan result. A 5-inch screen only suits unit price, pack size and a QR code; do not try to fit a poster on it.
Can it still check prices when the network is down?
You can build an offline cache: store the price table for frequently checked categories on the device, read the cache when the network drops, and label the result as an offline price subject to the checkout price. The caching logic lives in the software; the hardware needs no extra configuration.
Recommended models for this scenario
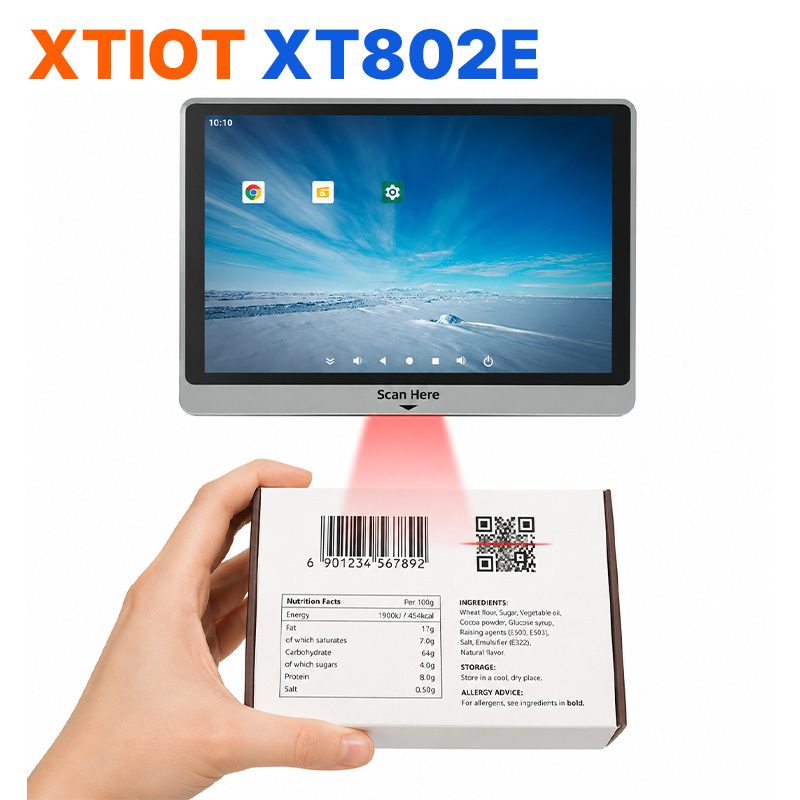
XT802E
The XT802E is a 10.1-inch Android 11 price checker with an 800×1280 capacitive touchscreen, RK3566 quad-core at 1.8GHz, ...
See specs and selection →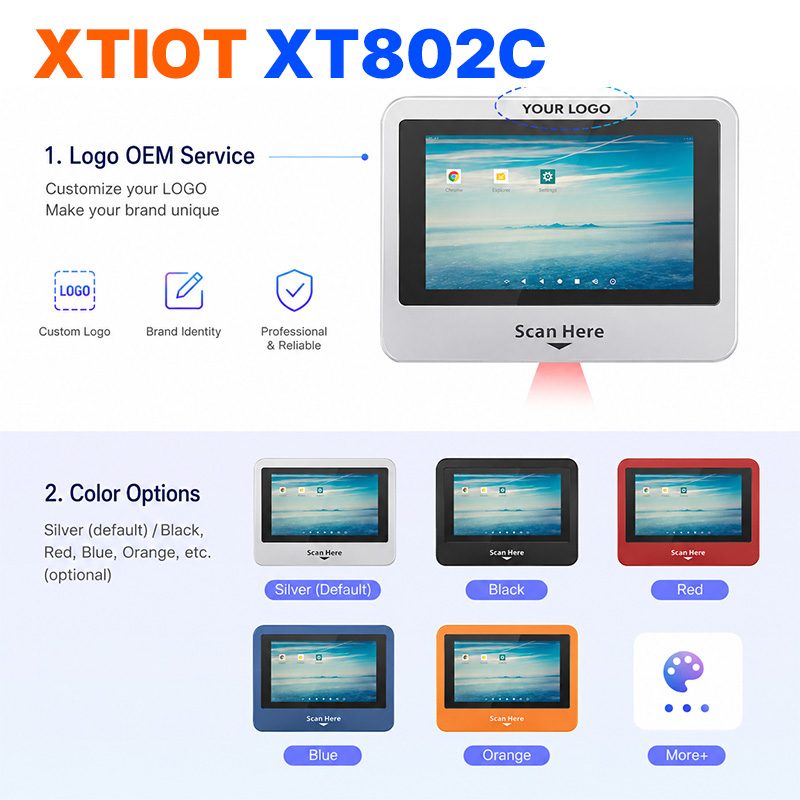
XT802C
The XT802C is a 5-inch Android 11 price checker with a 720×1280 capacitive touchscreen, RK3566 quad-core at 1.8GHz, ...
See specs and selection →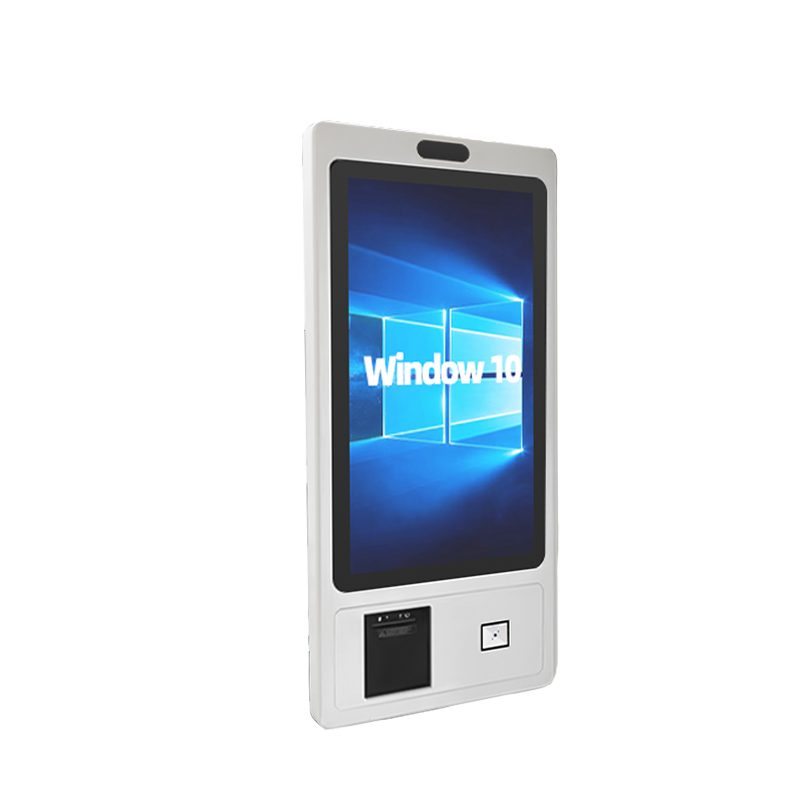
XTCM320
XTCM320 is a 32-inch Windows touchscreen query terminal: 1080×1920 portrait screen, Intel i5-3320M, ...
See specs and selection →Get a configuration list for your store
Send us your store type, floor area and the number of mounting positions, and we will return a list with model quantities and mounting methods.